Navigation & Products

Image Upload & Designer

Payment & Shipping
In this blog post, we will show the three simple steps it takes to place an order from start to finish. We will go through basic examples of how to navigate our product range, upload your images and pay for your order.

Navigation & Products
After clicking the order button, this is the main screen you will see, with all our products running across the top.

Within each of these product headers there are further options for you to choose, such as style, size etc.
For example, in Print Services, this is where you refine your choice of product.


Image Upload & Designer
There are various options within each product, so first, decide what you wish to order. When you have made the relevant selections ie. style, size, etc you will then see the screen below, this is where you add your images.
This may look slightly different depending on which product you are ordering.
Follow the links below for more specific information.
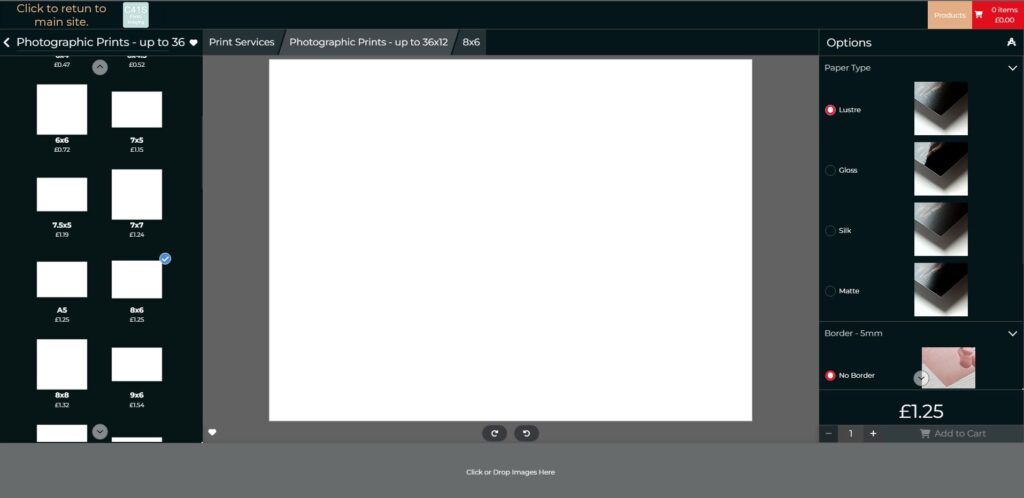
Then click on the bottom bar to upload your images.
When you have uploaded your images they will display across the bottom of your screen.

Payment & Shipping
When you have finished designing your products and are ready to place your order you can open the cart by clicking on the cart button top right.

You will then be able to check all the items in your cart.
If you wish to add extra copies then click on the +.
If you need to remove an item then click on the bin button also you can go back and edit any image using the pencil button.
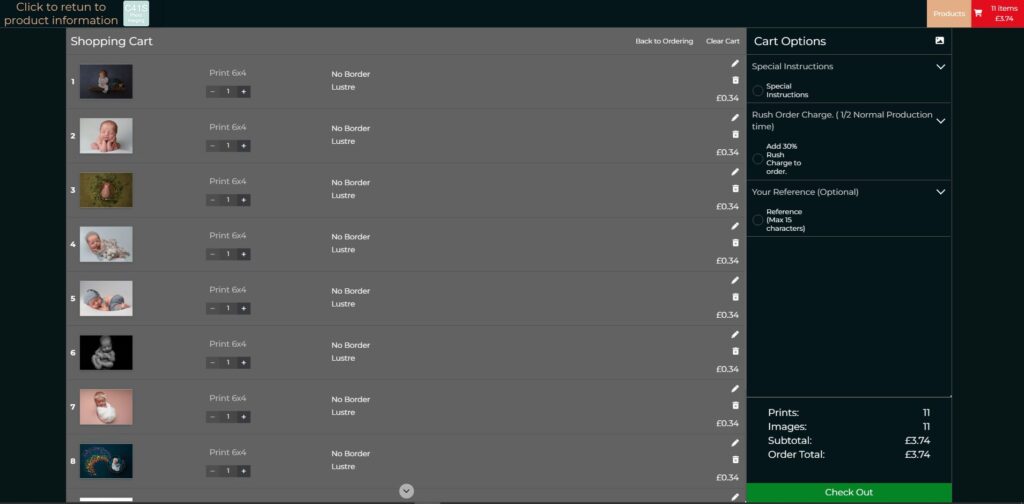
When you are happy that everything is correct in your cart then click on the ‘Check Out’ button.
You can then select the options for your shipping or collection.

We then need to know your payment option.

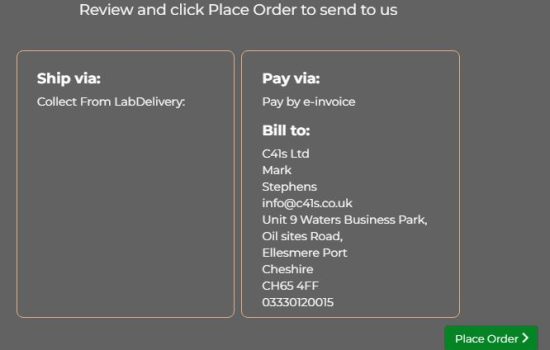
You will then be able to review your details and finally place the order.
